Introduction
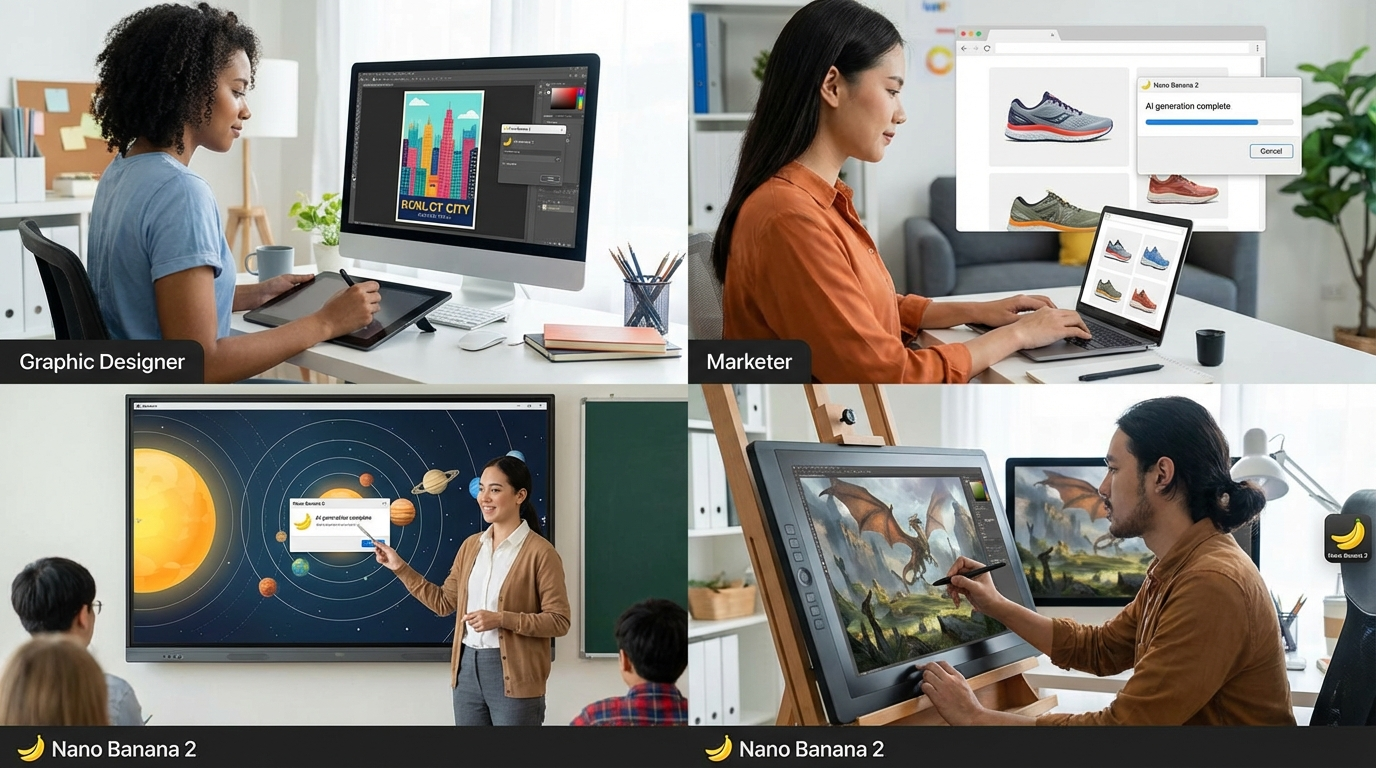
So you've heard about Google’s powerful new image AI, Nano Banana 2, and you want to try it out. This beginner-friendly guide will walk you through exactly how to use Nano Banana 2 to create and edit images. We’ll cover accessing the model, writing prompts that get great results, and even refining images with easy follow-up instructions. By the end, you’ll be able to turn your ideas into stunning visuals using Nano Banana 2.
No technical background needed – if you can describe what you want to see, Nano Banana 2 can probably create it. Let’s start with the basics of getting access to the model.
Step 1: Access Nano Banana 2 (Where to Use It)
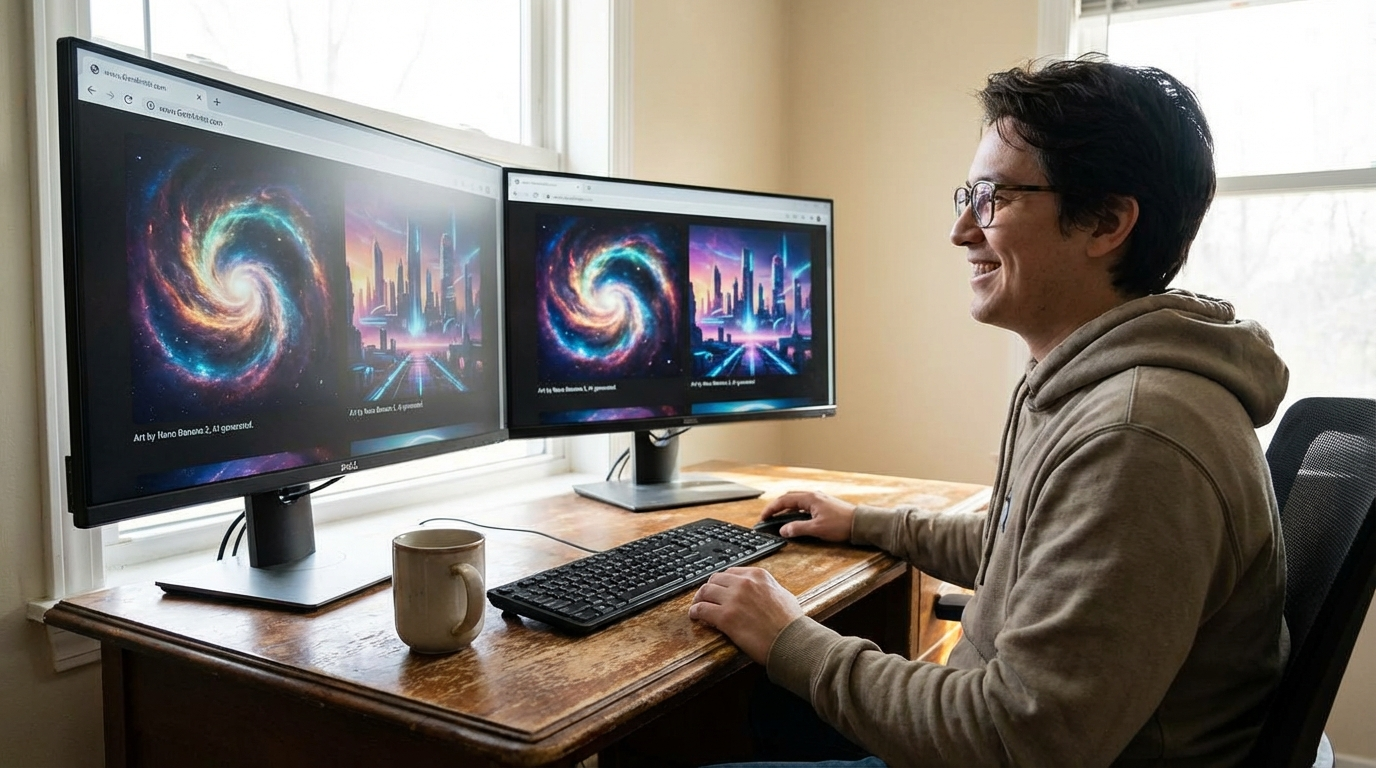
Nano Banana 2 is available through several channels. For most beginners, the easiest option is to use it on a web platform like GenAIntel. GenAIntel adds new models (including Nano Banana 2) on day one, so you can start generating images without any complex setup. Just create a free account and select Nano Banana 2 as your chosen model.
Google also offers Nano Banana 2 in its own products: for example, the Gemini mobile app on Pixel phones uses Nano Banana for on-device image generation and editing. There’s also Google’s AI Studio and APIs for developers. But if you’re not coding, stick to GenAIntel or Google’s web tools where you can type in prompts and get results instantly. The key is to make sure you have access to Nano Banana 2 specifically (sometimes labeled Nano Banana Pro in certain apps).
Start creating with Nano Banana 2
Access Nano Banana 2 and 100+ other AI image models on GenAIntel. Write your prompts and generate stunning images instantly with no technical setup required.
Step 2: Writing an Effective Prompt
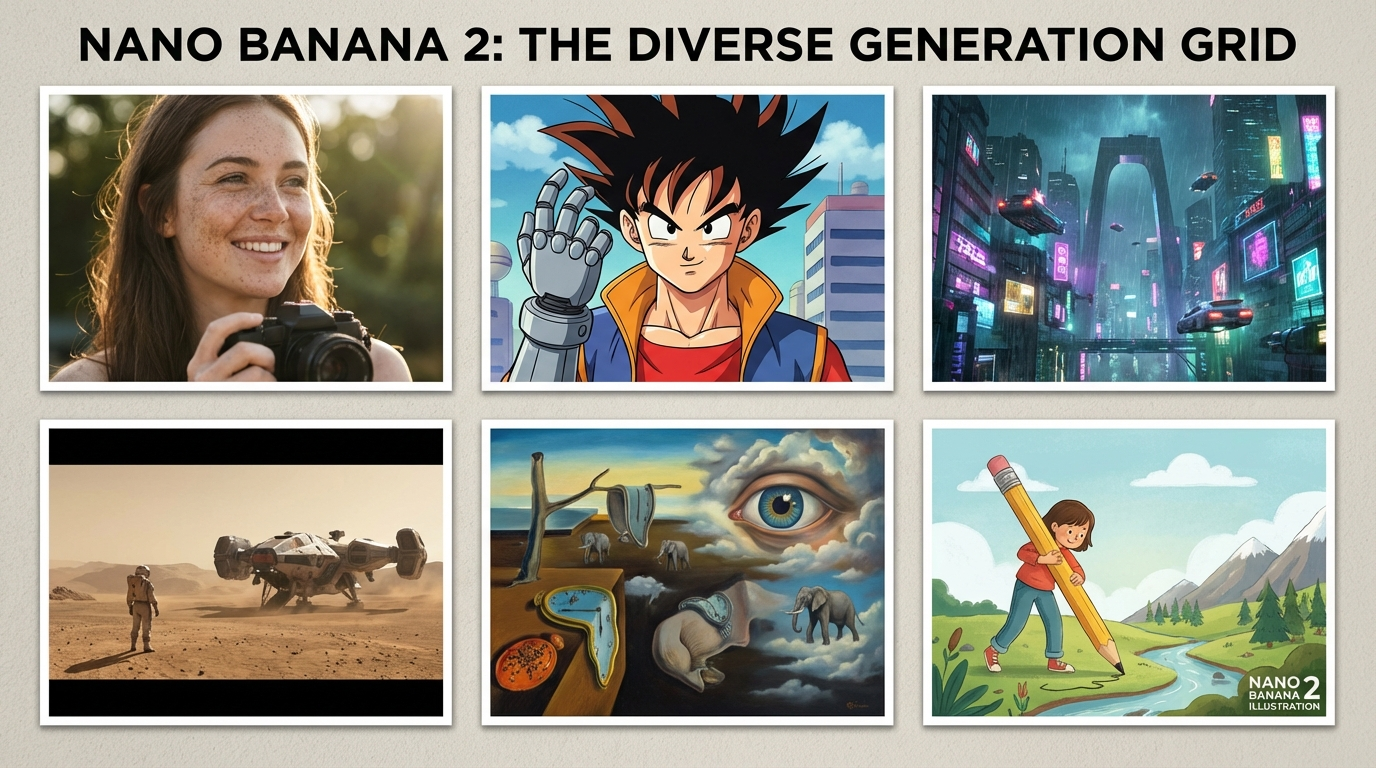
The magic happens when you write a prompt – a description of the image you want. Nano Banana 2 understands quite complex prompts, but it's best to start simple and clear. Here are some tips for writing prompts:
- Include the subject and setting: e.g., "a castle on a hill at sunrise".
- Mention style or mood if important: e.g., "in a watercolor painting style" or "cinematic lighting".
- Be specific but avoid extremely long sentences. You can break details into separate phrases.
- Use positive language for what you *do* want. (There's also negative prompting, which we cover shortly.)
For example, instead of just saying "forest", you might prompt: "a mystical foggy forest in moonlight, high detail, cinematic." The more clearly you describe the scene or subject, the closer Nano Banana 2 will get to your vision. Below is an example prompt and the resulting image:
A tranquil lake at dawn surrounded by pine forests, with mountains in the distance. The sky is painted in pink and orange hues. (Ultra-realistic photograph, 4K detail.)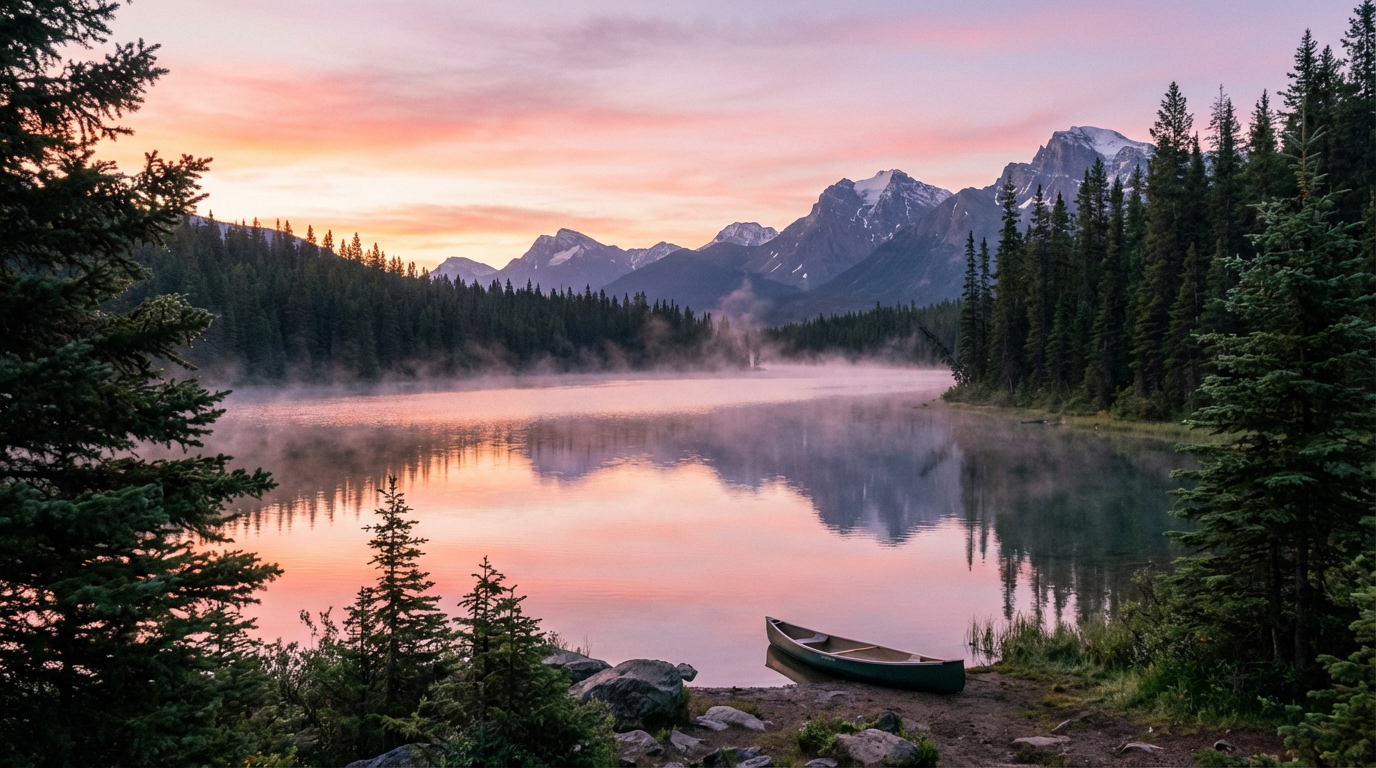
Step 3: Refining Results with Conversation
One of Nano Banana 2's most powerful features is the ability to refine an image through iterative prompts. Rather than starting over if an image isn't perfect, you can talk to the AI to adjust the result. For instance, you generated an image but want a minor change – simply type an instruction as if you're chatting. Example:
_You_: "Make the sky at sunset instead of dawn." (Refining the previous image prompt)
_Nano Banana 2_: (regenerates the image with an orange sunset sky)
This conversational editing means you don’t have to write a huge prompt from scratch each time. You can build on your last result. Let’s demonstrate this with an example. First, we generate an initial image, then refine it:
Initial prompt: A red sports car parked on a beach by the ocean.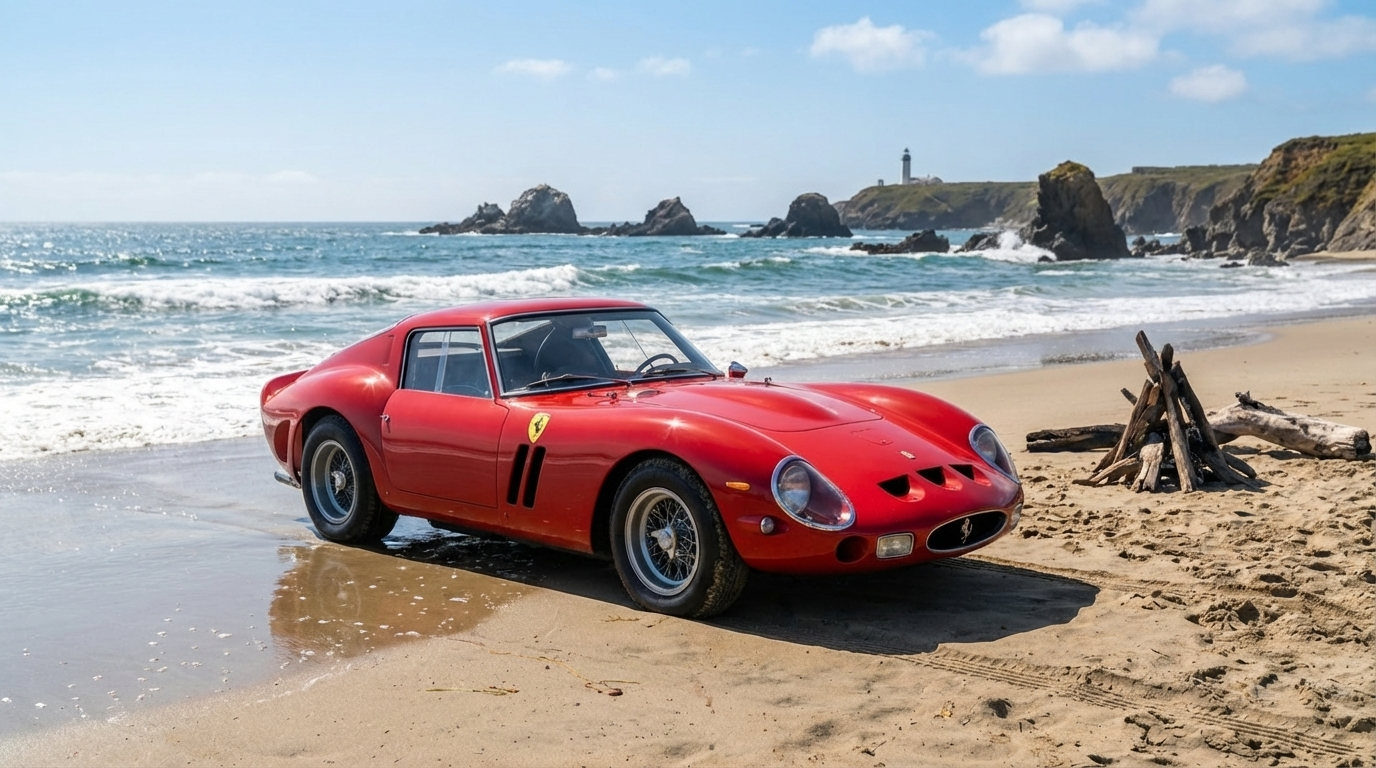
Refinement prompt: Change the car color to bright blue and make it sunset time.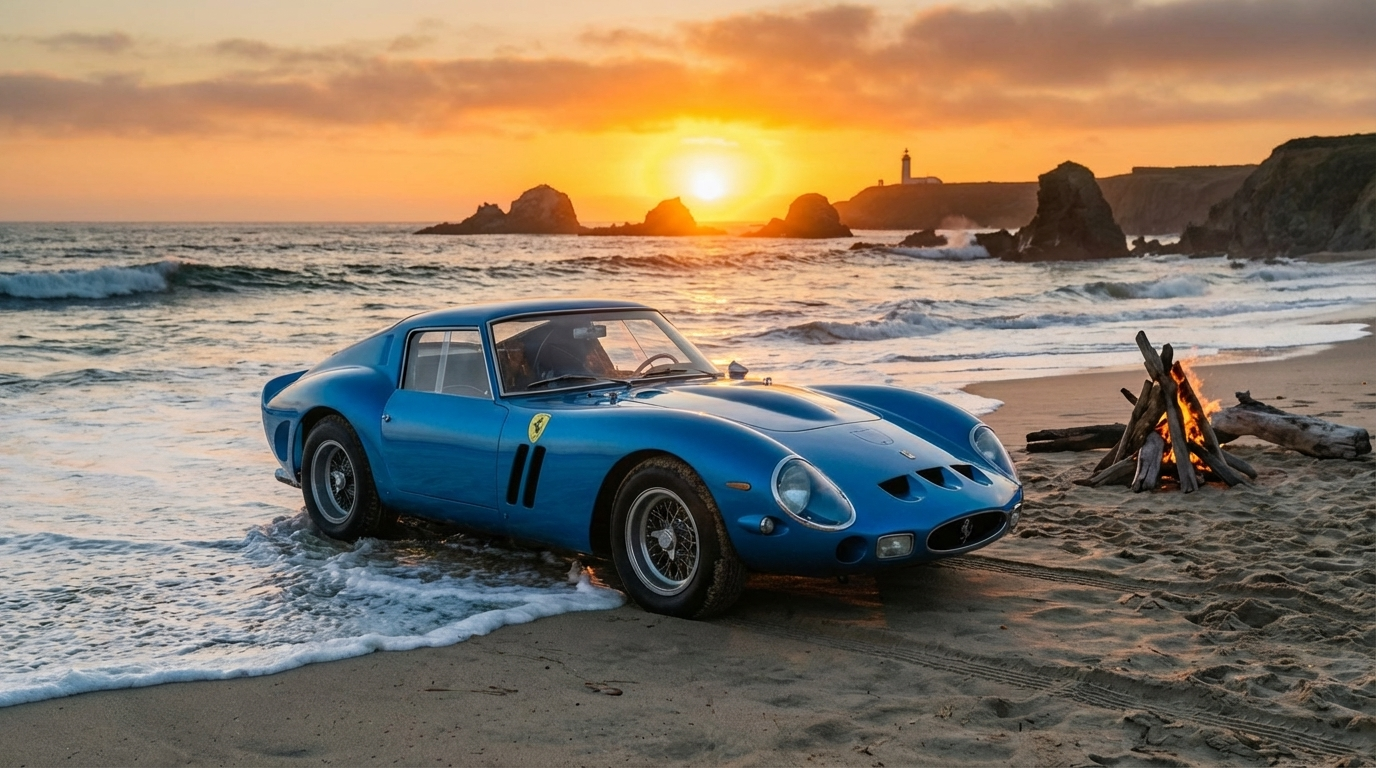
As you can see, refining is as easy as telling the AI what to change. You can do this multiple times, gradually guiding the image to perfection. It's like giving the AI feedback on its draft.
Step 4: Advanced Tips (Negative Prompts, Styles, & More)
Once you're comfortable with basic prompting, Nano Banana 2 offers advanced features to further improve your results:
- Negative Prompts – You can specify what *not* to include. For example, "Negative: blurry, text" will try to eliminate blur or accidental text in the image. Use this to avoid unwanted elements or styles.
- Style References – Nano Banana 2 can mimic styles. You can say "in the style of a watercolor" or "Pixar-style" and it will apply that vibe. On GenAIntel, you might even combine image references (like providing a style image) if the platform supports it.
- High-Res Upscaling – If you need a bigger image, Nano Banana 2 can upscale to 4K. Typically, you generate the image first, then use an "upscale" option. The result: a larger, sharper image ideal for printing or full-screen use.
- Multi-Lingual Text – Need text in different languages? NB2’s text generation understands many languages. For instance, you can prompt: "a storefront sign that says '咖啡' (coffee in Chinese)" and it will produce the characters correctly.
Here’s a quick example showing Nano Banana 2 generating text in another language on a sign:
A shop sign hanging above a bakery, written in French: "Boulangerie" in elegant large letters. Morning light, Parisian style storefront.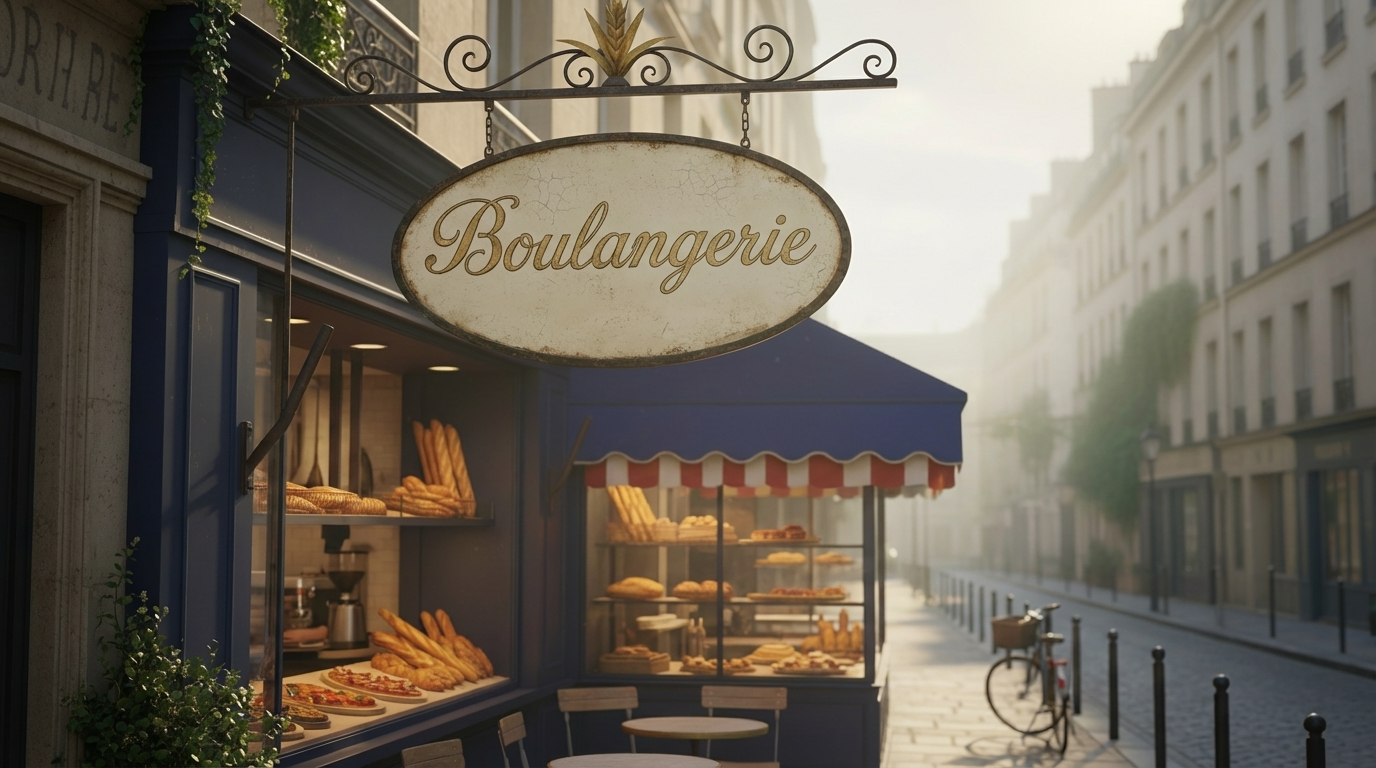
Lastly, be aware that Google embeds a subtle watermark (via SynthID) in AI-generated images to help identify them. If you're using images professionally, it's good to know this, though it doesn't visually affect your creations.
Conclusion
Nano Banana 2 puts incredible image generation and editing power at your fingertips. To recap, start by accessing it on a platform like GenAIntel for a hassle-free experience. Then, focus on writing clear prompts – and don't be afraid to iterate with the AI to get things just right. With practice, you'll be able to whip up anything from concept art and social media images to edited photographs in minutes. The more you use Nano Banana 2, the more you'll discover its capabilities. Happy creating!
Ready to master Nano Banana 2?
Join GenAIntel to access Nano Banana 2 alongside 100+ other AI image models. Compare outputs, refine your prompts, and build your image generation skills.